Easily Prevent Fabric Puckering
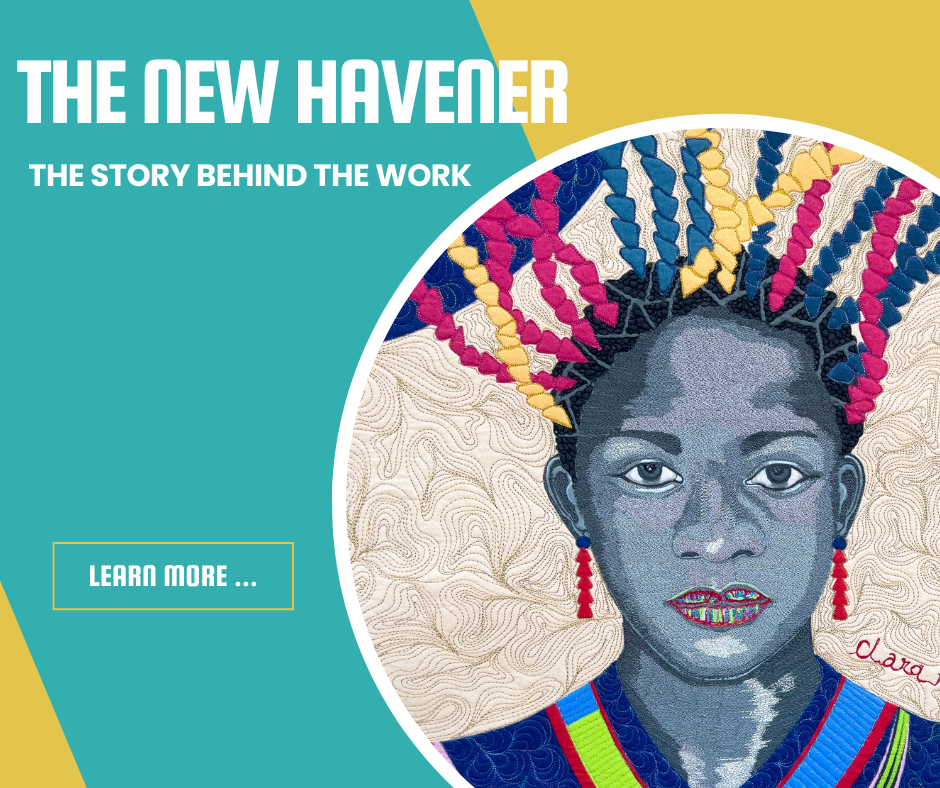
In episode 8 of Stitch the Sketch, I draw a piece, I’ve entitled “Hair Day”. It’s a girl with long hair extensions framing her small face and she wears a beautiful hat on top of her hair extensions. I call it hair day because I can’t tell if she’s having a good hair day or a bad hair day.


Tips, Techniques, and Tools
Texture:
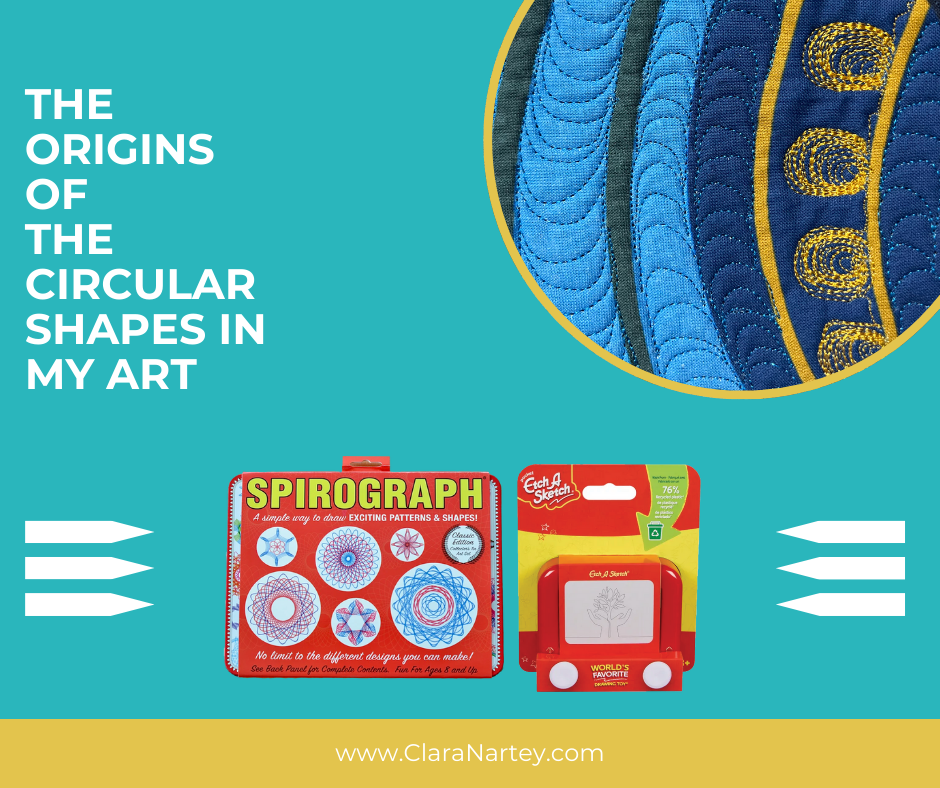
To add texture to your thread painting, incorporate simple and appropriate quilting designs. In the video, I use a repeated “S” shape to simulate braids. Don’t shy away from common quilting designs in your thread painting. Look for the quilting design that works best for your drawing and use it. Next, let’s move on to uneven fabric feeding and fabric puckering issues.- Fabric puckering is a major problem for most people when thread painting, thread sketching, free motion quilting or densely stitching. Fabric puckering occurs when the layers of your fabric are not evenly fed through your sewing machine.
- It’s very easy for fabric puckering to occur when you’re stitching in an area bordered by seams. When you start working your way from one area of your work sequentially towards a seam, by the time you reach that seam, the excess fabric caused my uneven feeding, will be pushing against the seam and thus result in fabric puckering.
- Remember that stitching flattens the surface and unstitched areas will be raised. When you’re working towards an unstitched area, by the time you arrive in this area, it will be severely raised and pushing against bordering seams (fabric puckering). So start from the center of your project and work towards the outer edges.
- Alternatively, prevent fabric puckering by dividing a large area into sections. Avoid stitching sequentially from one stitched border of this area to another. Jump or hop back and forth between your divided sections. This ensures that the surface of your work remains flat and avoids fabric puckering.
- If you’re having a hard time visualizing how to do this, watch me demonstrate it in the video