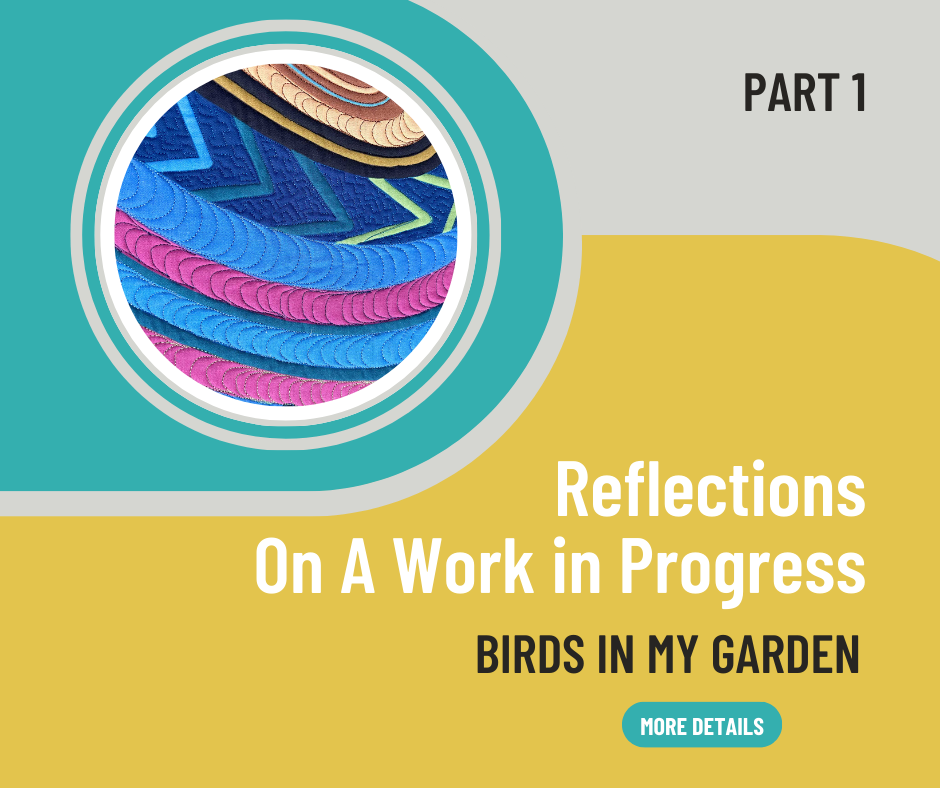
In recent months, I’ve fallen back on doing work in progress updates. Today, I’m going to show you what’s on the work table in my studio and I’ll teach you how I use fusibles to hold the various layers of my materials together without stitching and explain why I use facings to finish my work.
Save to PINTEREST
I’ve finally completed work on Under the Microscope #1, a mini piece which I introduced to you a few weeks back. I finished the edges with one of my favorite finishing techniques which is called facing.
Facings vs Bindings
I prefer using facings to using bindings because unlike bindings, facings don’t interrupt the flow of the image around the edges. The image goes all the way around the edges.
Facings ensure the image goes all the way around the edges
Secondly, if you do your facings right, you can have very nicely squared edges for your finished art piece.
Facings give you nicely squared corners (Reverse view of the facing)
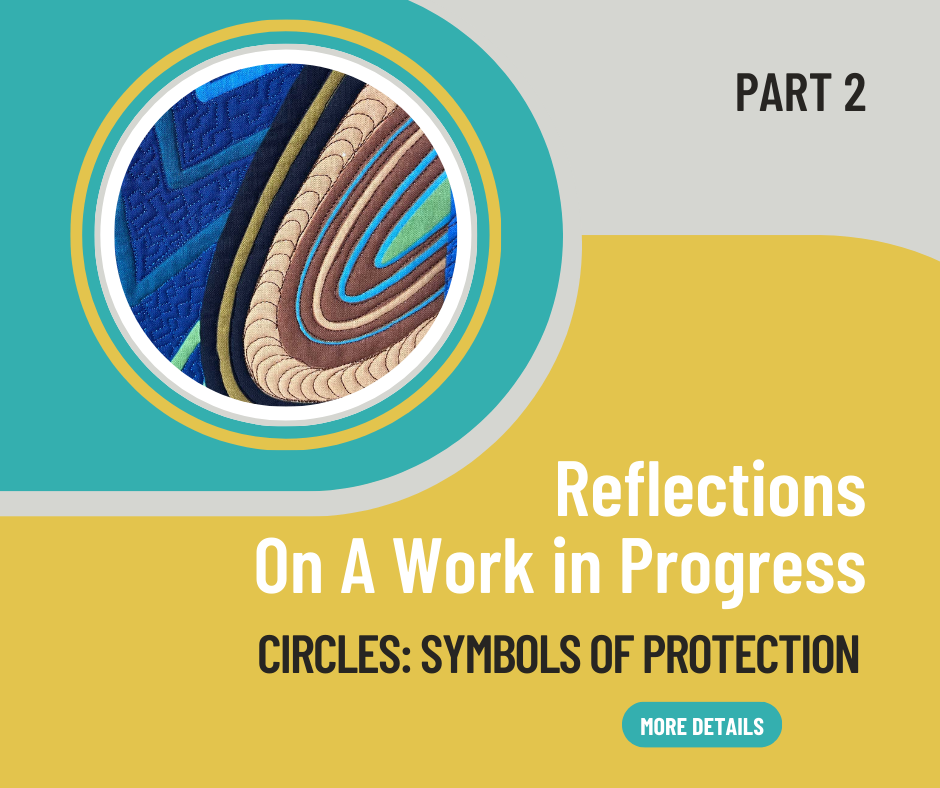
Now that the mini piece is done, it’s serving as my inspiration for the larger piece that I’d planned to create all along. That’s going to be # 2 in the series.
Fusibles Instead of Basting
Fusible strips ironed onto fabric in lieu of basting
To start work on this piece, I cut up strips of fusible web and adhered them to both the backing fabric and top fabric. Instead of basting the different layers together whether by hand or by sewing machine, I rather use fusible web for this purpose.
For smaller pieces, I’d go ahead and cut a piece of fusible web the entire size of the piece but for larger pieces like this one which is about 27″ x 38″, I use strips.
Using strips instead saves you from wasting fusible web and it’s fast.
Fusibles Peeled Off
Next, I peel the strips of fusibles to reveal the glue on the fabric. The only downside of using strips is that the backing paper that is peeled off the fusibles are in such small pieces I can’t use it for anything else. (Otherwise, I usually find good uses for the backing paper).
Now, that I have glue on my top and bottom layers, I attach the other layers and fuse (glue) them all together by ironing.
Fusibles used to hold layers together
Preparing the Canvas
Since this is a bigger piece, I toyed with the idea of “preparing the canvas” before arranging collage pieces on top of the canvas and doing any creative drawing. I knew I’d be having a lot of negative space in this piece – places where I wouldn’t place any elements. So to ensure that these spaces don’t pose structural problems to me. I decided to do an all over stitching on the almost 1000 square inches of background fabric.
Stitching Organic Shapes on my Canvas
I started with a meandering stitch as you can see on the top left-hand side of this photo. But I wasn’t quite satisfied with the look. So I went with this all over “cell-like” look. This is more like what I have in mind for the final piece. I’m still concerned it might interfere with my final design. But I’m not going to worry about that now.
I’m going to finish up prepping the “canvas” (background) and I’ll bring you some more updates later. Stay tuned.
Warmest Regards,
You may also be interested in these posts in the series:
Part2: Gain Color Confidence NowPart 3: Line Drawings with Thread
Part 4:
SaveSaveSaveSaveSaveSaveSaveSave


 Now that the mini piece is done, it’s serving as my inspiration for the larger piece that I’d planned to create all along. That’s going to be # 2 in the series.


 You may also be interested in these posts in the series:
Part2: Gain Color Confidence Now
Part 3: Line Drawings with Thread
Part 4:
You may also be interested in these posts in the series:
Part2: Gain Color Confidence Now
Part 3: Line Drawings with Thread
Part 4: